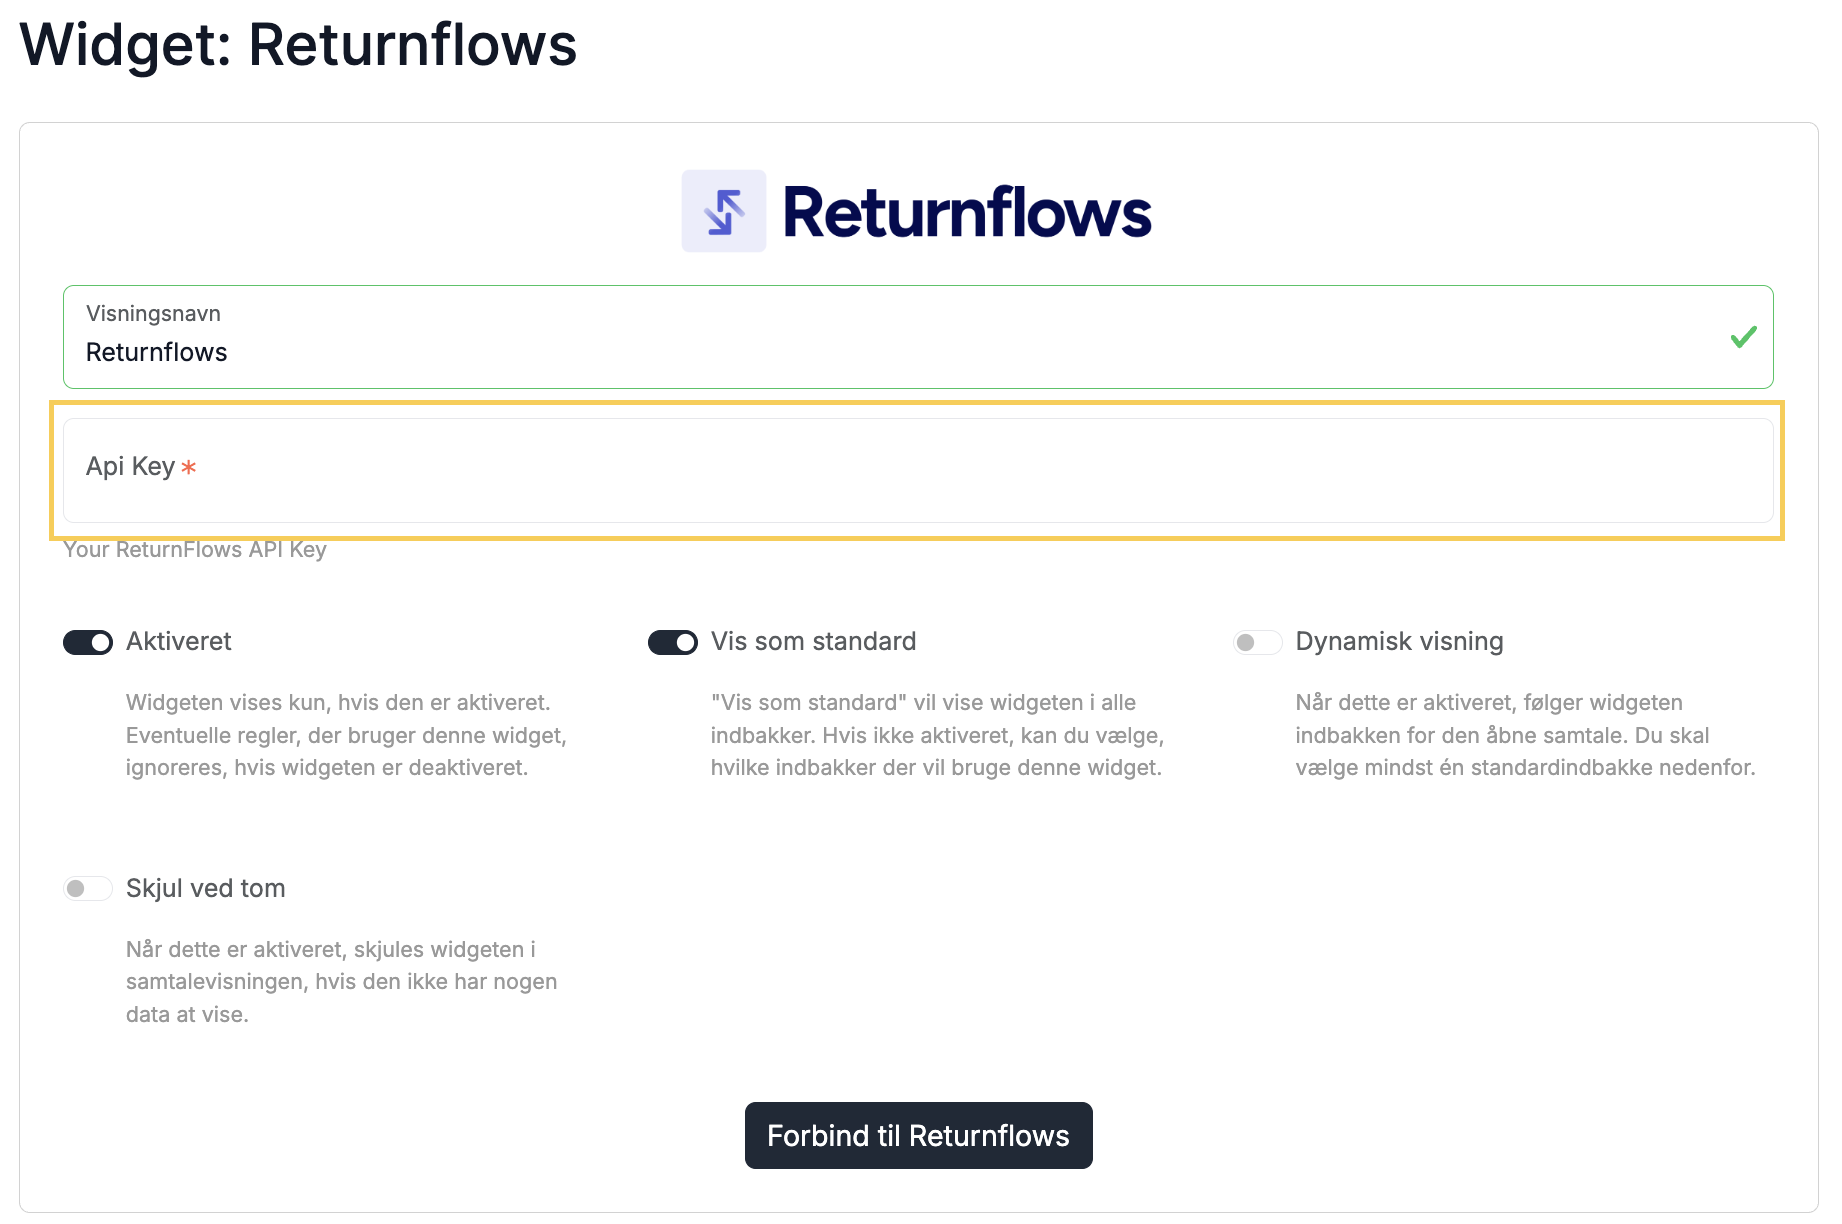
With the integration to Returnflows, you can now view and manage your customers’ return and claim cases from Returnflows directly within Herodesk. When you open a customer conversation in Herodesk, the Returnflows widget gives you instant access to:
- Active return cases
- Claim status
- Reason for return
- Selected resolution (refund, exchange, store credit, etc.)
- Case history
In addition, you can:
- Approve or reject a case
- Complete a return
- Mark a case as resolved
- Send a return label (if relevant)
- Update order notes
All of this without leaving the conversation view. You can read more about the benefits of the integration here: https://herodesk.com/blog/new-integration-returnflows/
Follow the steps below to set up Returnflows
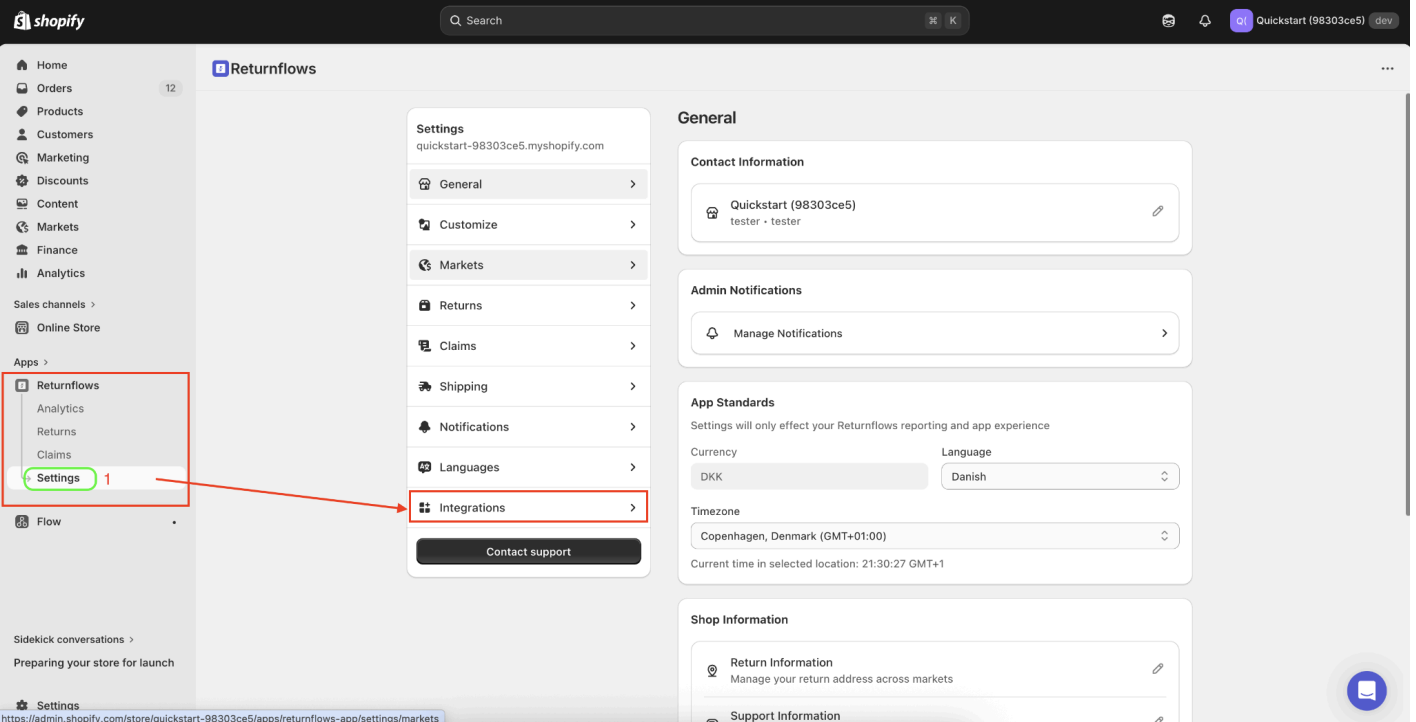
1. Log in to Shopify
2. Go to apps -> settings -> integrations
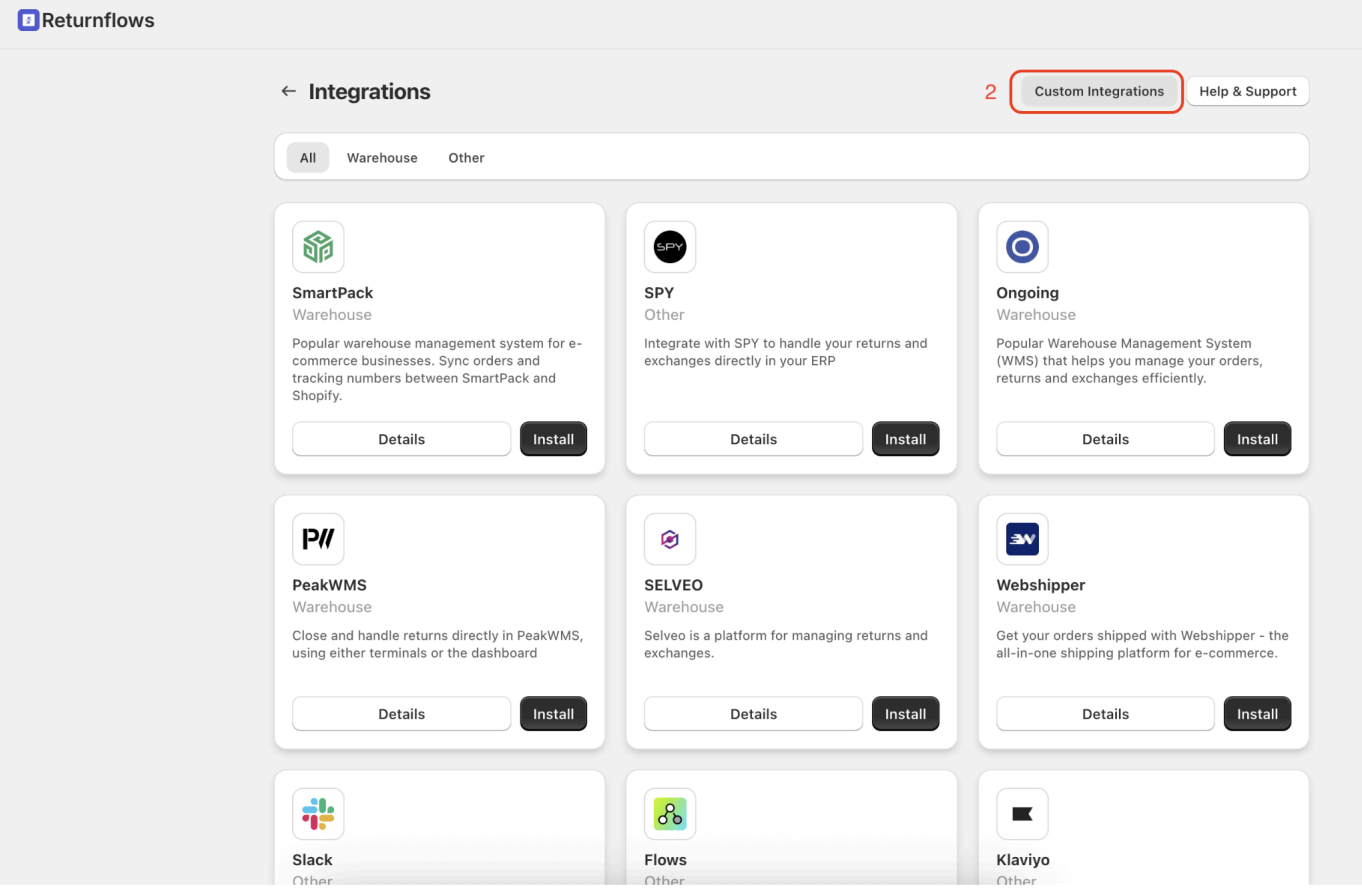
3. Click on Custom Integrations
4. Choose Add API Key
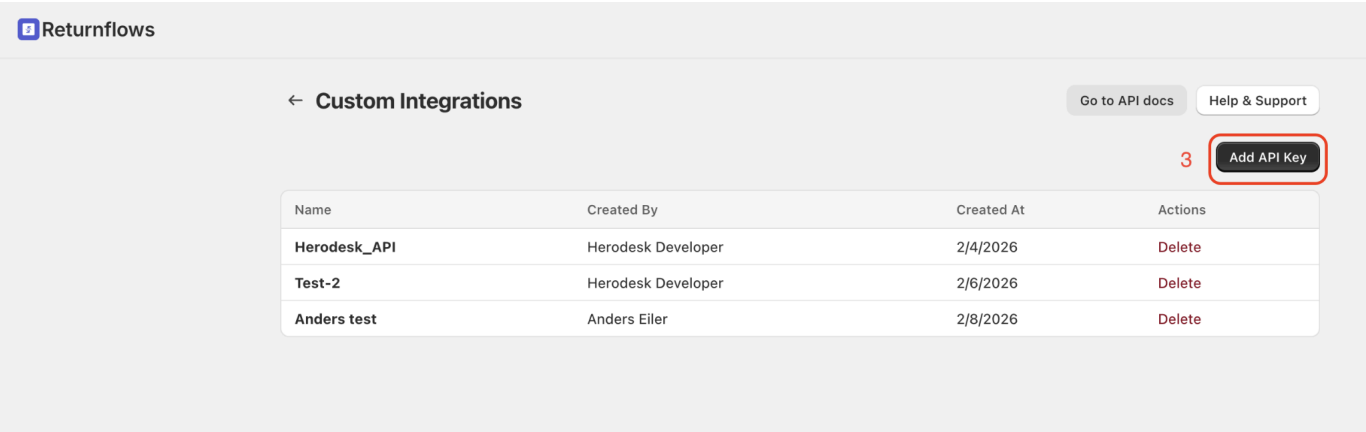
5. Give the API key a name and click "Create"
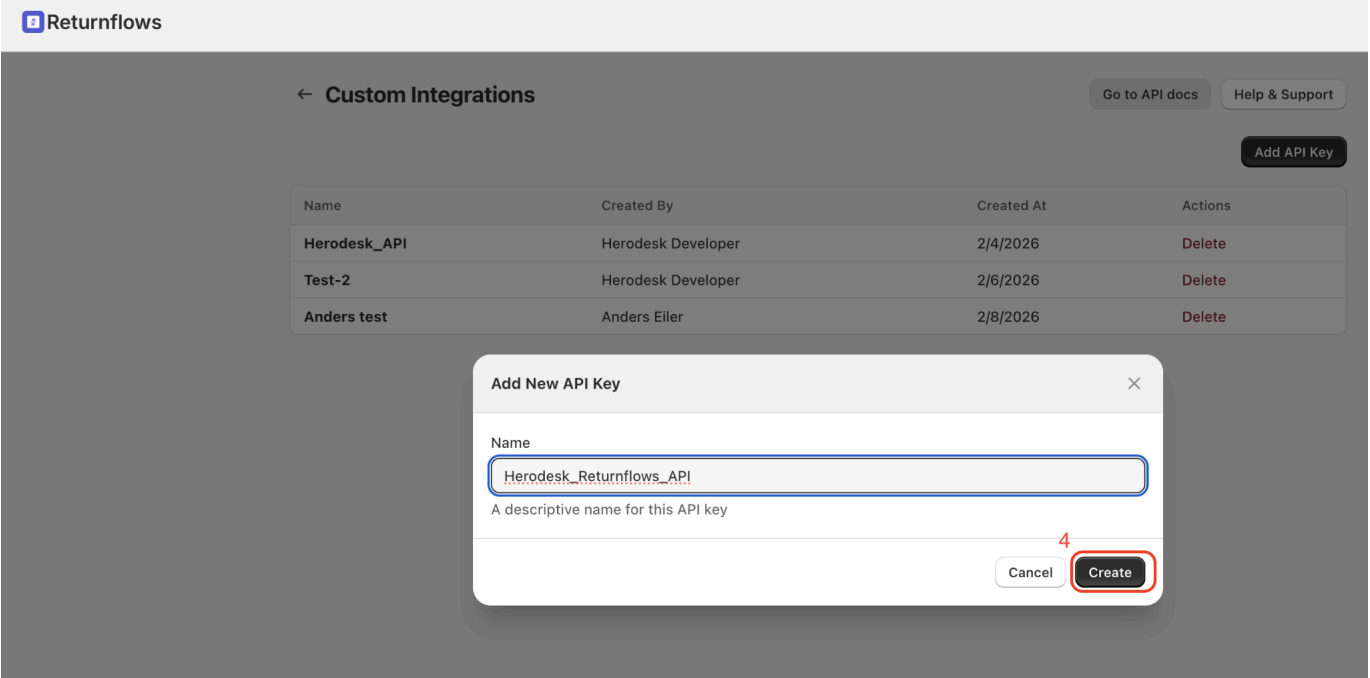
6. Copy the API key to paste it into Herodesk
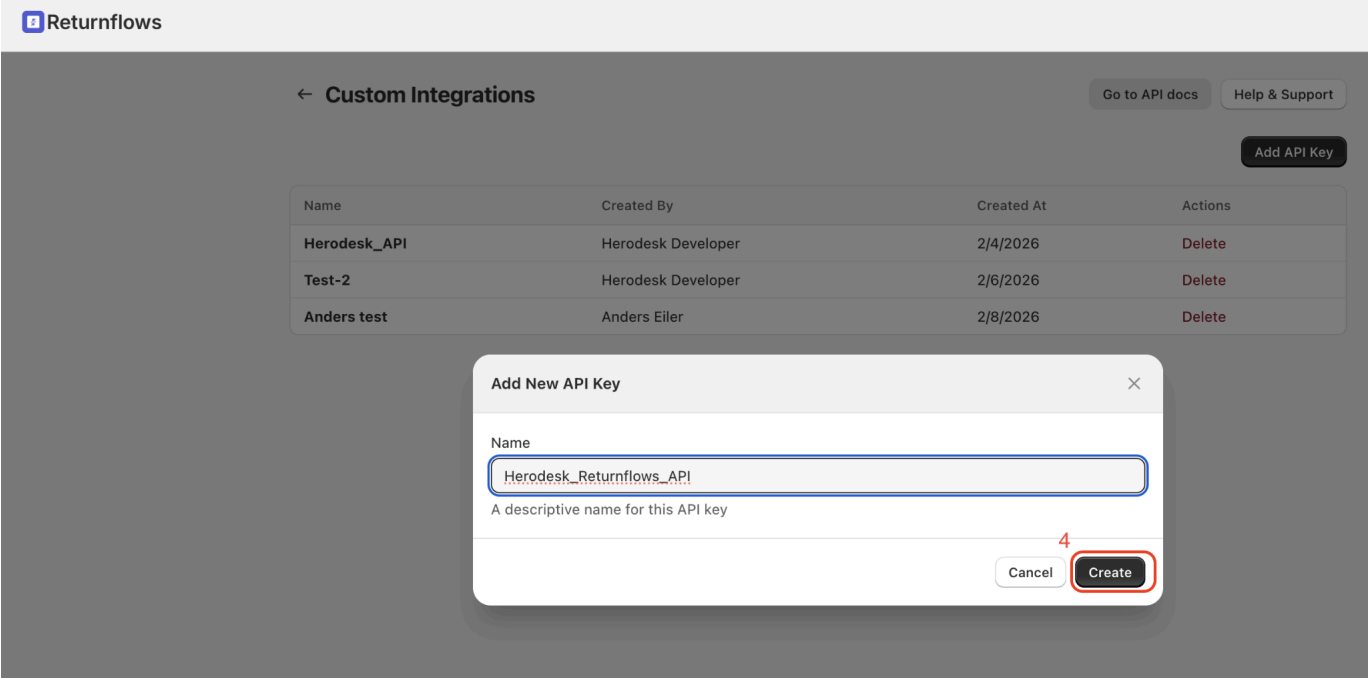
7. Go to Herodesk settings -> widgets -> add a widget -> find Returnflows
8. Add the API key and connect to Returnflows and test the connection