
The Shipmondo widget is easy to set up—just follow these steps:
- Log in to Shipmondo
- Click on Settings
- Click on Integrations and select API
- In the bottom right corner, click the + button
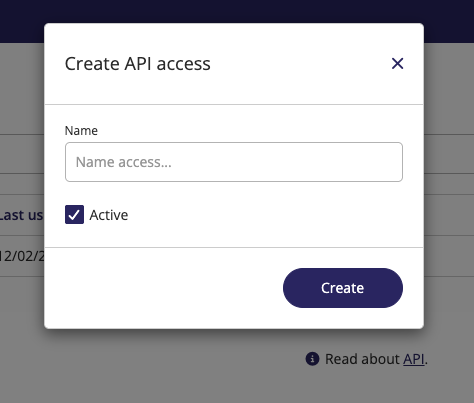
- A small window will open where you can name the API, e.g. “Herodesk,” check “Active,” and click “Create”
6. Two fields will now appear: User and Key.You’ll need to enter these in Herodesk when installing the Shipmondo widget.
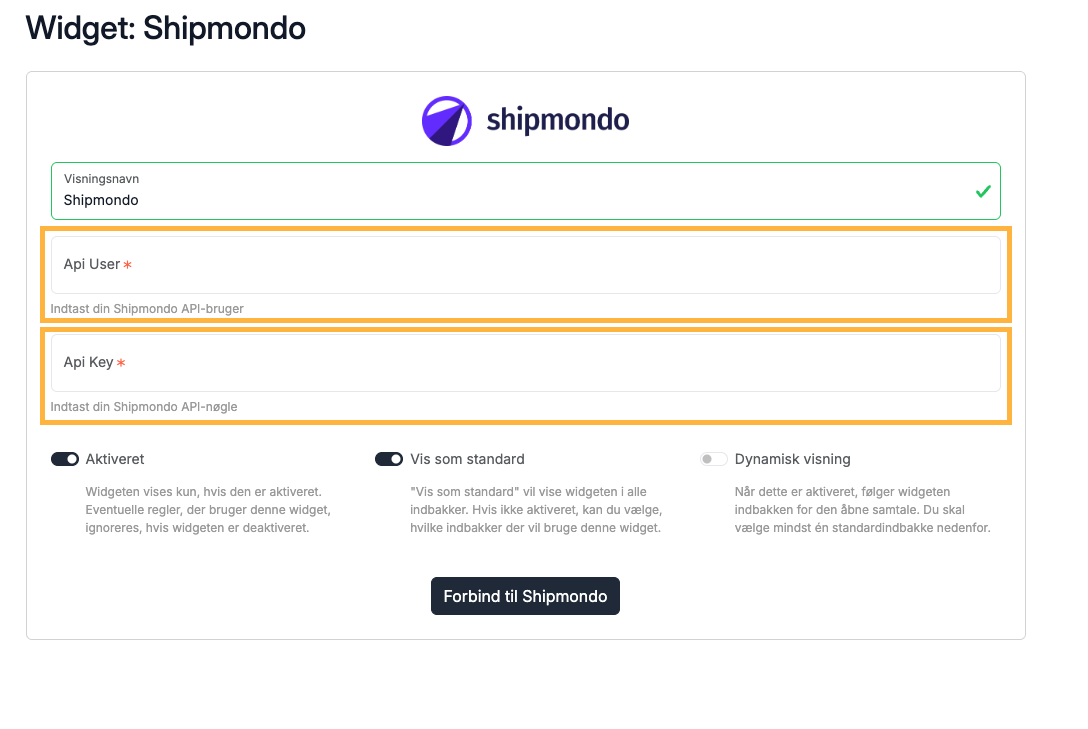
7. Finally, click “Connect to Shipmondo” and test the connection using the yellow button.
Once that’s done, everything should be set up correctly. If not, feel free to contact us at support@herodesk.com.
What can you do in the Shipmondo widget?
Shipping details directly in the conversation
When you open a customer conversation in Herodesk, the Shipmondo widget gives you instant access to:
- Package and shipment details
- Shipping status
- Carrier information
- Track & trace links
- Shipping labels
No more logging into Shipmondo just to answer a simple “Where is my order?” question. Everything is available directly in the widget.
Open the order in Shipmondo with one click
Sometimes you need to go a step further. That’s why the integration includes a “deep link” to the specific order in Shipmondo.
If something needs to be changed or investigated further, you can jump directly to the order. No searching. No copying order numbers.
Update order notes from Herodesk
Support teams often need to leave notes related to shipments:
- Special delivery instructions
- Customer agreements
- Internal comments
With the new integration, order notes can be updated directly from Herodesk and synced with Shipmondo. This makes it easier to keep everyone aligned—without switching systems.