
Shopify Markets lets you run multiple countries/currencies on the same Shopify installation.
The new Shopify Markets feature makes maintaining your Shopify webshop much easier than having separate instances for each market.
Many still prefer to have one Herodesk live chat channel per language, to personalize the experience for the visitors.
This article describes how to install that on your Shopify Markets webshop.
Code example for Shopify liquid theme
The following code must be added to your liquid theme file:
{% liquid
  assign country = localization.country.iso_code
    if country == 'DE'
        assign herodesk_wid = 'XXX'      # Germany
          elsif country == 'NO'
              assign herodesk_wid = 'XXX'      # Norway
                elsif country == 'DK'
                    assign herodesk_wid = 'XXX'      # Denmark
                      elsif country == 'SE'
                          assign herodesk_wid = 'XXX'      # Sweden
                            else
                                assign herodesk_wid = 'XXX'      # Default (ENG / other countries)
                                  endif
%}
<script src="https://cdn.herodesk.io/livechat.js?wid={{ herodesk_wid }}" defer></script>
Replace XXX with the channel id for each of your live chat channels.
Find your Herodesk Live Chat ID
This ID is found in the Installation Code.
Go to Settings -> Channels -> Choose your Live chat channel -> Press the black "Installation Code" at the top right:
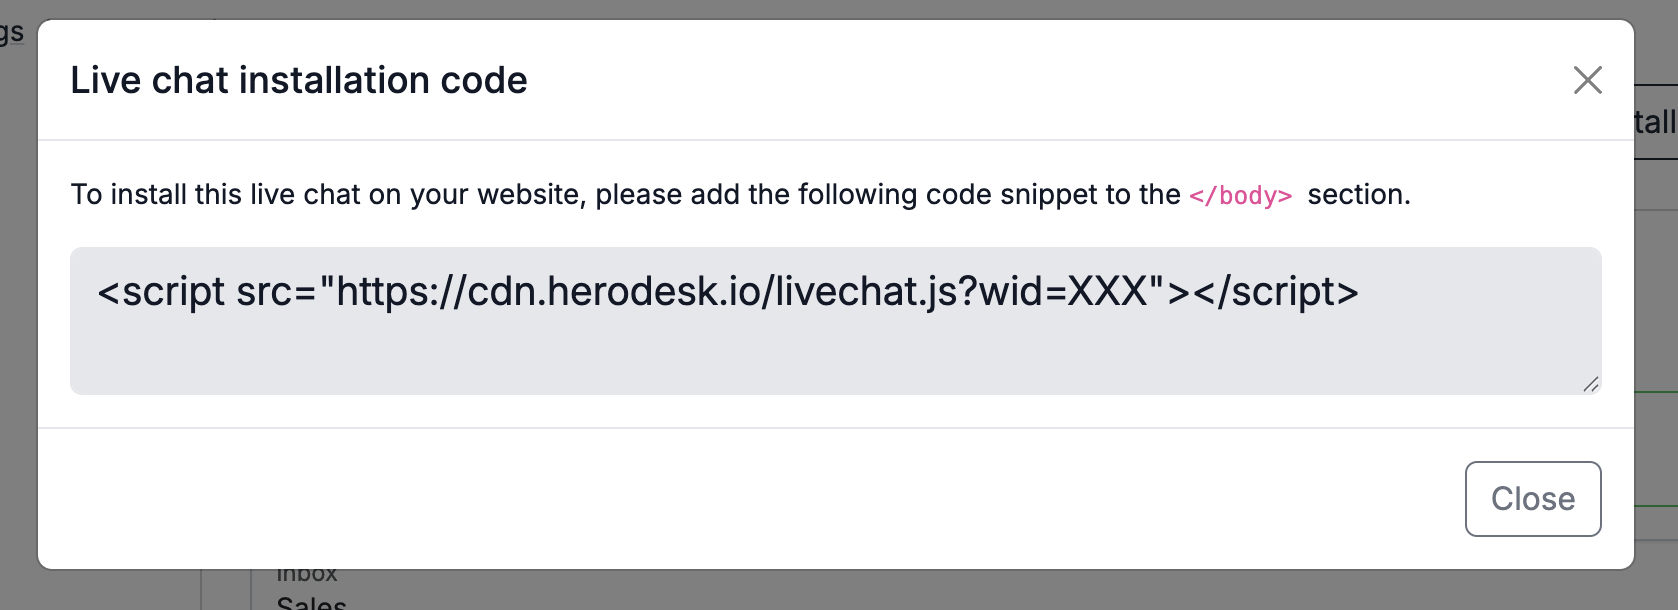
You can expand the code example above to more countries if needed.
Translation plugin for Shopify Markets
We recommend using the Translate and Adapt plugin for Shopify to manage translations.