
There are several ways to translate your conversations in Herodesk. The easiest and fastest way is by setting the language directly in the inbox.
When you enable auto-translation in the inbox, all incoming messages will be automatically translated into your preferred language as they arrive.
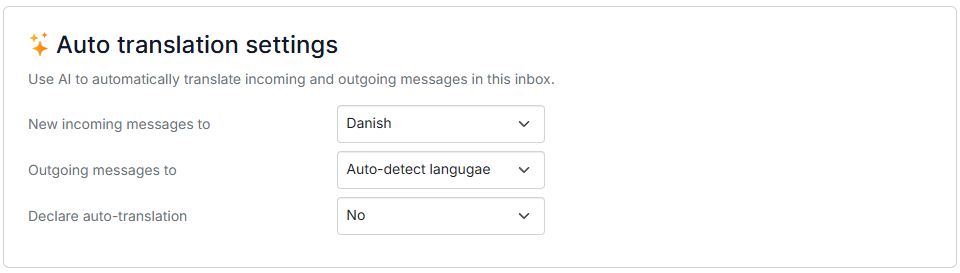
In the example above, all messages are translated into Danish, while all outgoing messages are translated back into the language the original message was written in.
All you need to do is reply in your preferred language and click Send reply – your message will then be automatically translated upon sending.
If you set outgoing messages to a specific language – for example, German – and the customer writes in English, the customer will receive a reply in German. So, if you have customers writing in multiple languages or you’ve collected all your mail addresses into one inbox, it may be beneficial to use auto-detect for outgoing messages.
If you’ve set outgoing language to auto-detect and receive a message in English, and you want to reply in English yourself, simply write your reply in English and send it. AI will analyze the message, and if it detects that your reply is in the same language as the original message, it will skip the translation and send it as-is.
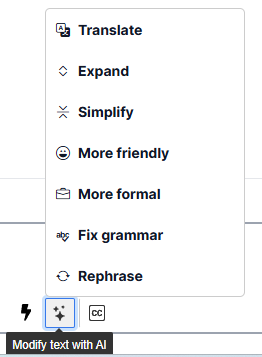
If you're replying manually in English, you can also use the star icon in the reply field to correct grammar.
Once the language is set, you can choose whether the customer should be informed that the message was translated using AI. This will be shown at the bottom of the message, e.g. “This conversation was translated with AI from DK to EN.”
The benefit is that if a phrase is slightly off in translation, most customers are understanding – they see the effort you’ve made to meet them on their terms.