
A custom widget allows you to show data from your own systems in a widget in Herodesk.
Examples are:
- Custom CRM / ERP system
- Other 3rd party tools we do not have a built-in widget for
Install custom widget
To install a new custom widget, go to Settings -> Widgets -> Add Widget and choose Custom Widget.
You will see this screen:
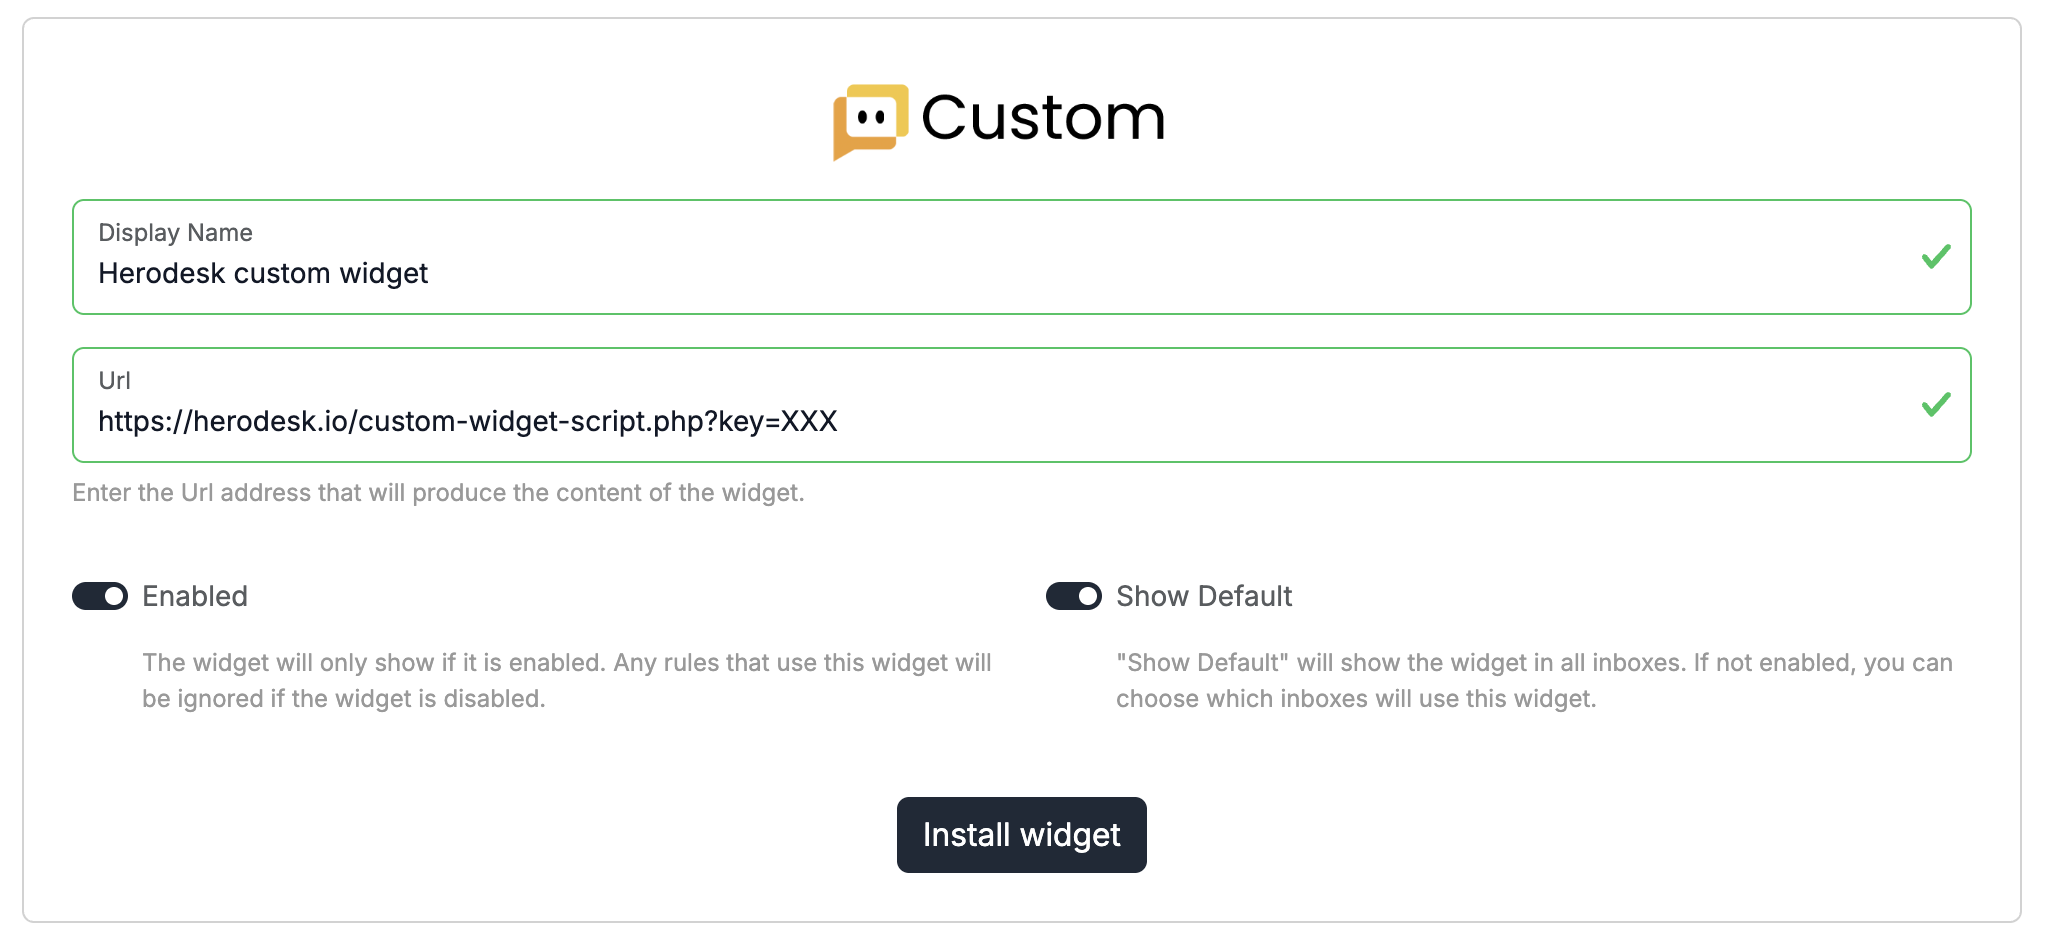
Give the widget an internal display name (to let you and your team know what tool you're displaying data from) and enter the URL address of your script/endpoint that returns the data.
Note: All requests are sent over HTTPS, but to avoid unauthorised access, we recommend adding a secret key or token to the URL.
Custom widget workflow
Custom widget workflows function like this:
- When a conversation is opened, Herodesk will send a POST request to the URL you set in the widget settings. The request will include these body parameters:
- Conversation id
- Widget id
- Contact email
- Your script now processes the request and fetches the data you need
- Your script must return the data as JSON in the format listed below
Retrieve the BODY parameters like this:
$data = json_decode(file_get_contents('php://input'));
Herodesk makes one request per conversation load.
Accepted JSON format
To have your data displayed in Herodesk, they must be presented in this format:
{
"headline":"Headline here",
"elements":[
    {
        "header":"Headline text here",
        "type":"text",
        "content":"Text to be shown here"
    },
    {
        "header":"Headline text here",
        "type":"list",
        "content": [
            "bullet list 1",
            "bullet list 2",
            "bullet list 3",
            ...
        ]
    },
    {
        "header":"Headline text here",
        "type":"table",
        "content": {
            "tableHead":[
                "tableHead1",
                "tableHead2",
                "tableHead3",
                ...
            ],
            "tableBody":[
                [
                    "tableBody1",
                    "tableBody2",
                    "tableBody3"
                ],
                [ ... ]
            ]
        }
    },
    {
        "header":"Headline text here",
        "type":"accordion",
        "content": [
            {
                "header":"Accordion item title",
                "content": [
                    {
                        "type":"text",
                        "content":"Text shown when the item is expanded"
                    },
                    {
                        "header":"Optional block title",
                        "type":"table",
                        "content": {
                            "tableHead":[ "Product", "Qty" ],
                            "tableBody":[ [ "Socks", "2" ] ]
                        }
                    }
                ]
            },
            { ... }
        ]
    }
]
}
It must have a headline (string) and elements (array) objects.
There can be as many objects in elements as you need. They will be displayed in the order they are added to the array.
Each element must have a type of either text, list, table or accordion.
An accordion element renders collapsible items. All items start collapsed and only one is open at a time. Its content is an array of items, and each item needs a header (the clickable title) and a content array of blocks. A block is a text, list or table element with an optional header shown as a label above it. Accordions cannot be nested inside each other.
The content supports the following markup:
- Convert bold text: **bold text**
- Convert italic text: *italic text*
- Convert hyperlink buttons: [button text](url){:attribute="value" } fx [Go to Herodesk](https://herodesk.io){:target="_blank" :class="btn btn-primary"} We use Bootstrap 5.3, remember that regarding button classes
- Convert links: [link text](url)
- Link URLs may use http, https, mailto or tel. Other schemes are removed for security.
You can also add an optional foundItems (integer) next to headline to tell how many results you found. If it is 0 and "Hide on Empty" is enabled on the widget, the widget is hidden in the conversation.
Verifying requests
To verify a request comes from Herodesk, and to prevent exposing data from your custom endpoints to unwanted 3rd parties, we recommend adding a secret key to your URL and ensuring the connection is always sent over https.
You can see how to implement this in the example at the top of this article.
Other data-types
If you wish to add other data types, please contact us on support@herodesk.io to enquire.